Rear diff spur gear and Ball retainer
- Configuration: Factory manual listing for exact kit 58096; match that configuration when ordering.
VehiclesTamiya TA01

1/10 scale · 4WD touring chassis · sold as kits
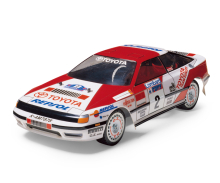
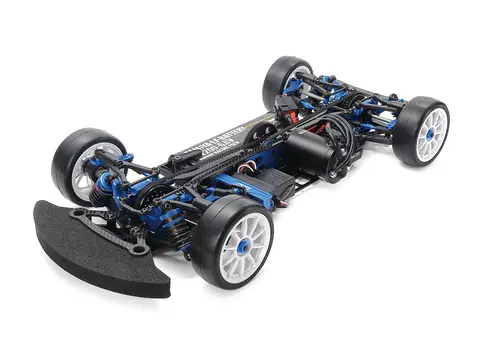
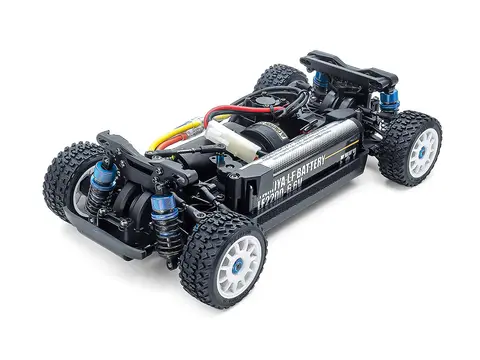
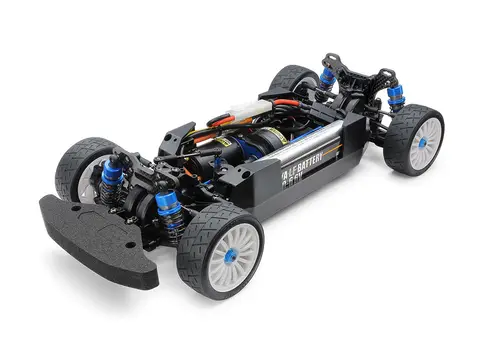
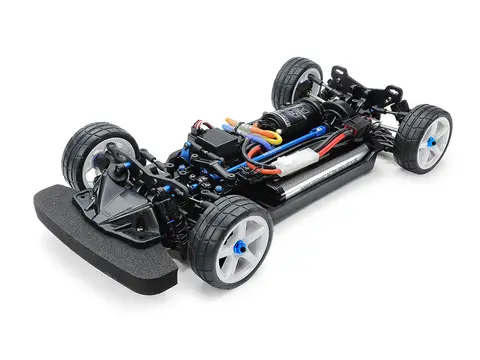
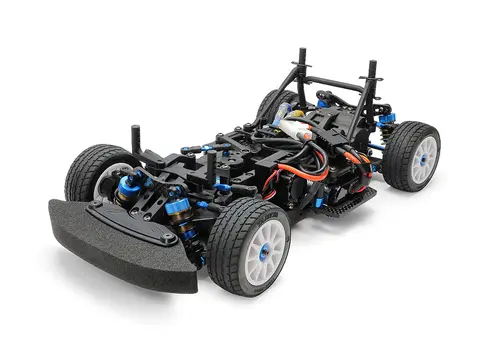
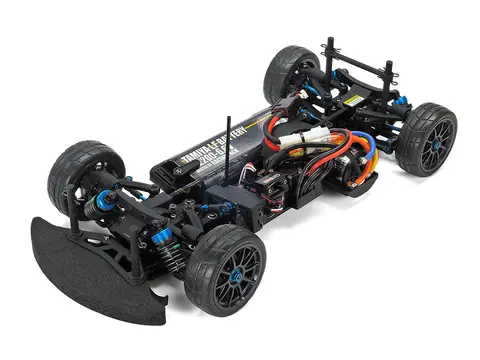
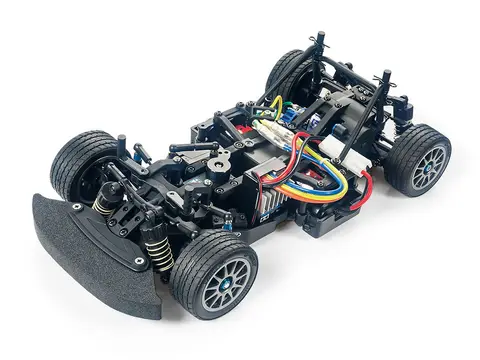
TA01 is Tamiya's early shaft-driven four-wheel-drive touring and rally chassis family. Its Celica GT-Four Rally and Skyline GT-R Nismo kits put road-car bodies over a compact electric chassis with front and rear gearboxes, independent suspension and oil dampers. These early 1990s models helped establish the recognizable form of Tamiya touring-car kits, while retaining mechanisms developed during its buggy era. Celica factory instructions (opens in a new tab). Contemporary chassis lineage overview (opens in a new tab).
The Celica 58096 manual shows a gear differential at the front and a ball differential at the rear, along with a 540 motor and period speed-control installation. Its 21T pinion and rally body are exact-kit details. Other bodies, tires and later equipment packages need their own instructions, so a platform name alone should not set the finished car's tire diameter or dimensions. Factory instructions (opens in a new tab).
A used TA01 may have accumulated different gearboxes, uprights or electronics over its life. Compare the front and rear assemblies with the correct kit manual before ordering a body mount or rebuilding the differential. The Skyline and Celica illustrations provide useful reference points, but a matching appearance is not a complete fitment check. Exact Skyline instructions (opens in a new tab).
For a runner, fresh lubrication, free suspension movement and sound bearings are more useful first steps than a large power increase. Owners discussing brushless TA01 builds report different motors and levels of modification, with no single agreed safe power limit. Set the car up around its actual components and chosen running surface, rather than treating a forum motor example as a factory rating. Owner discussion and contrasting power choices (opens in a new tab).
Each kit adds its own body, tires, pinion and motor. The chassis figures below apply to all of them.
| Kit | Part no. | Maker page |
|---|---|---|
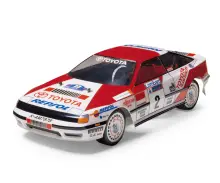 Toyota Celica GT-Four Rally | 58096 | cdn.simba-dickie-group.dePage (opens in a new tab) |
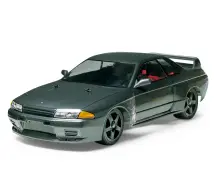 Nissan Skyline GT-R Nismo | 58099 | cdn.simba-dickie-group.dePage (opens in a new tab) |
| Spec | Value | Basis |
|---|---|---|
| Vehicle | ||
| ||
| Class | Touring | |
| Drive | 4WD | |
| Power | Motor not included | |
| Build | Kit | |
| Scale | 1/10 | |
| Drivetrain | ||
| ||
| Pinion | With each kit | |
| Spur | Not published | |
| Transmission & axle | Not published | |
| Final drive | With each kit | |
| Wheels & tires | ||
| ||
| Tire diameter | With each kit | |
| Power | ||
| ||
| Motor | With each kit | |
| Battery | With each kit | |
Checked task pages, documented requirements and recorded factory fluids for this model. Follow the manufacturer's procedure for the exact assembly and revision.
Kit equipment can differ. Match the manual's box number to your kit before servicing it.
References apply to kit 58096. Match your box number and the cited configuration.
Exact Tamiya kit 58096; historical mechanical/electrical package retained. Owner-selected radio and later conversions excluded.
Exact kit front gear and rear ball-differential assembly. Keep the lubricants and bearing/washer arrangements separate.
No separate parts, tools or prerequisites have been indexed for this task. Read the cited reference before starting.
This is a partial service reference. Check the cited instructions for the full procedure and configuration-specific requirements. Mechanical tasks may need additional parts, quantities and reused hardware beyond the items listed here. Manual reviewed 2026-10-16.
Exact Tamiya kit 58096; historical mechanical/electrical package retained. Owner-selected radio and later conversions excluded.
Exact kit oil-damper assembly and installation; do not infer a common length for all chassis derivatives.
No separate parts, tools or prerequisites have been indexed for this task. Read the cited reference before starting.
This is a partial service reference. Check the cited instructions for the full procedure and configuration-specific requirements. Mechanical tasks may need additional parts, quantities and reused hardware beyond the items listed here. Manual reviewed 2026-10-16.
Exact Tamiya kit 58096; historical mechanical/electrical package retained. Owner-selected radio and later conversions excluded.
Exact kit21Tpinion and indexed motor mount. Match the pinion position and gear family before substitution.
No separate parts, tools or prerequisites have been indexed for this task. Read the cited reference before starting.
This is a partial service reference. Check the cited instructions for the full procedure and configuration-specific requirements. Mechanical tasks may need additional parts, quantities and reused hardware beyond the items listed here. Manual reviewed 2026-10-16.
No factory fluid grades are recorded here. That does not establish whether this vehicle uses oil, grease or friction components.
Indexed tasks link to checked physical PDF pages. Other links open full documents. Tasks and rebuild requirements not shown here still need review.
Factory setup guide for this configuration.
For Celica 58096, establish free suspension and steering movement before adding power. Its manual shows a 21T pinion with the indexed motor mount, a front gear differential and a rear ball differential. Use the correct mounting position and keep the rear differential's dedicated lubricant separate from the ordinary gear lubrication.[1] Exact Tamiya 58096 factory assembly and setup instructions (opens in a new tab)
The factory oil dampers can be serviced before buying replacements. Follow the piston, seal and oil-fill sequence, then make sure the arms and steering move without the dampers hiding a tight joint. Match any replacement damper to the exact kit's mounts and travel rather than assuming one TA01 length fits every body and setup.[1] Exact Tamiya 58096 factory assembly and setup instructions (opens in a new tab)
A used chassis may have different parts from its original kit. Compare the gearboxes, wheel axles, propeller shaft and motor mount with the 58096 drawings, and confirm the actual battery fit before an electrical conversion. The manual's period mechanical-controller or separate-ESC arrangement does not establish a modern brushless or LiPo limit.[1] Exact Tamiya 58096 factory assembly and setup instructions (opens in a new tab)
Factory setup guide for this configuration.
Use the exact Skyline GT-R Nismo 58099 instructions when restoring this TA01 kit. Compare the actual motor mount, gearbox and steering assembly with the drawings before ordering parts. Components fitted to an old runner may come from a later kit, so the body and chassis name alone do not identify every assembly.[1] Exact Tamiya 58099 factory assembly and setup instructions (opens in a new tab)
Keep the front and rear differential procedures separate, and use the lubricant specified for each mechanism. Check the original oil dampers for smooth movement and sound seals before replacing them. Free suspension arms and correctly centered steering should be established before installing a higher-power motor.[1] Exact Tamiya 58099 factory assembly and setup instructions (opens in a new tab)
Treat a change of battery or controller as a complete installation check. Confirm the pack's physical dimensions, the controller's own electrical limits and the steering/radio requirements. The original period battery and electrical drawings are restoration references, rather than an approval for every later TA01 power conversion.[1] Exact Tamiya 58099 factory assembly and setup instructions (opens in a new tab)
34 collected part numbers. Collected . Unmarked parts are recorded listings, without a claim about factory installation; optional and upgrade listings are tagged. Key assemblies include recorded gear and shock identifiers. Open a part for its listing sources.
Platform entry.
4 source links for this model.
Links open in a new tab.
Shared chassis, platform development and substantial structural parts reuse within the same brand or company.
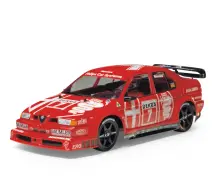 TamiyaTA02
Early TA shaft-drive platform family
A shared family, manual or listing does not mean the parts fit both vehicles. Check the comparison and upgrade notes before ordering.
Browse 7 more Tamiya models.